
Rubber is used in a wide variety of components throughout your semi-truck, and each one serves an essential purpose. They are responsible for delivering lubricants, fluids, and air to the engine and gearbox. They provide reliable seals that inhibit the passage of fluids and insulate the surrounding area. Some ensure that specific components continue to function normally.
Rubber components, such as fan belts, gaskets, door/window seals, and air/fluid hoses, are subjected to a significant amount of strain during the harsh winters in Buffalo. When you drive a vehicle on a road that is wet, water, oil, and filth are churned up from below the vehicle. This may cause the belts, seals, and hoses that you have to corrode over time. In the event that anything begins to leak or slide, it might result in far more severe complications. Let’s take a look at some of the most typical components made of rubber that are found in your automobile.
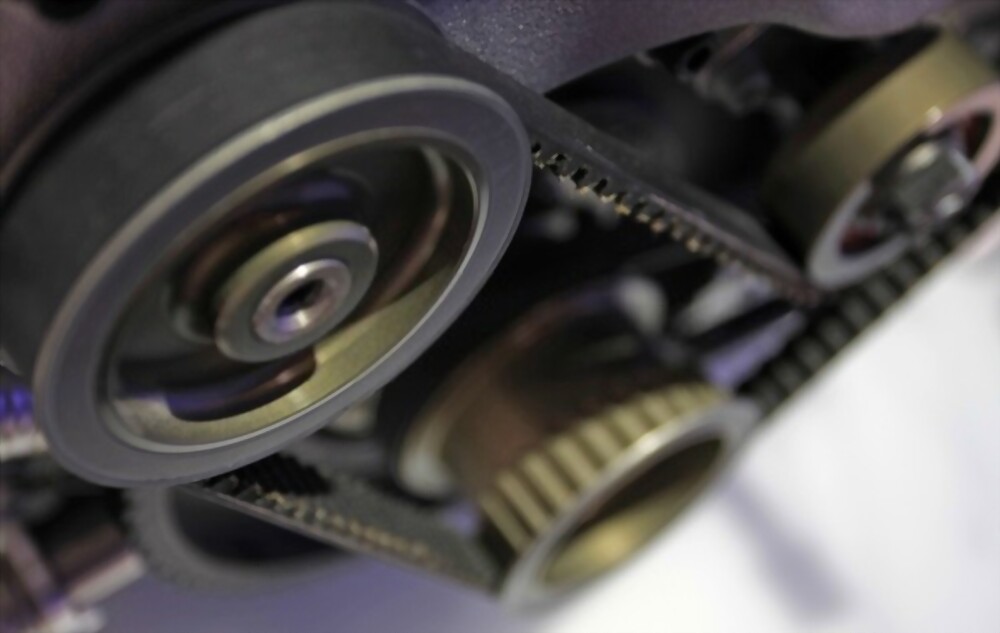
Timing Belt
This is a notched rubber belt that rotates in conjunction with the crankshaft in order to spin the camshaft. If it is slipping, then the engine won’t operate as smoothly as it normally would. In the event that it fails, your vehicle’s engine will not turn at all. Because of this, having it examined on a regular basis is really necessary.
Serpentine Belt
Power is supplied by the serpentine belt, which is sometimes referred to as a drive belt, to a wide variety of various components, such as the air conditioning compressor, the engine cooling fan, the air injection pump, the power steering pump, and many more. It is of the utmost importance to check that it is at the right level of tension in order to prevent it from sliding or breaking.
Hoses
In order to distribute air or fluid to the various components of your vehicle, it will have a number of hoses and tubes flowing throughout its interior. A variety of hoses, including those used for air, coolant, and brake fluid, as well as hydraulic brake lines, should be examined often and changed as necessary.
Gaskets and Seals
To stop fluid from leaking out of your semi-truck, it is essential to check all of the gaskets and seals throughout the vehicle, including the transmission pan gasket and the rear main engine seal. If there is any damage to a seal or gasket, it should be changed as soon as possible.
Seals for the Doors, Windows, trunk, and hood
Even though they are not strictly necessary for the operation of the vehicle, all of the outside seals should be present to provide adequate insulation and to prevent water from the environment from entering the vehicle, which might lead to internal damage.
COMPRESSOR HOSE REPAIR
Find the hole or the source of the leak. Find out if the point of failure is closer to the male or female fitting. In this particular illustration, the failure site is situated closer to the male fitting; hence, we will be disassembling that end. The female fitting, on the other hand, follows exactly the same procedure. Make sure that the line is cut straight, then make the cut at the location where it failed. Bring down the sleeve of protection. Remove the compression fitting from the line, and then cut it. Utilizing two tools with a 16mm diameter of your choosing, loosen the air fitting from the compression fitting. While you remove the air fitting, you’ll need someone to hold the compression fitting in place. A second male end, which is designed to be fitted into the hose, is included on the air fitting. It may be necessary to use a screwdriver to pry the extra hose out of its position before the fitting will budge. Take off the air fitting that’s attached to the compression nut. Take off any extra hose that could be hanging off the air fitting or stuffed into the compression nut. Make sure that both of the components are clean. After it has been newly cut, the air hose needs to be inserted into the compression fitting. Give yourself roughly 1–2 inches of additional hose length. Put the air fitting into the hose that is provided. Raise the compression fitting to the desired level. Start screwing the air fitting into the compression fitting using the appropriate tool.